Five Glass Measurement Challenges
Why innovation at scale requires metrology tools

A thorough and detailed inspection of architectural glass and the condition of glazing are vital in maintaining the safety and visual appeal of both commercial and residential structures.
Glass will pass through multiple levels of quality inspection during the manufacturing process, and the glass industry has unique requirements for edge inspection, broken glass detection, glass thickness calculation, as well as film thickness, spectral reflectance, absorption and color (L*a*b*) measurement, to name a few.
As the science and application of measurement, metrology is a results-driven approach that ensures glass products consistently meet both quality and throughput requirements. So, how does glass metrology work?
Common problems, custom measurements
Metrology for glass and thin film combines state-of-the-art light sources, lasers, optics and detectors coupled with advanced software algorithms and machine learning to measure and analyze a variety of signals and features. Together, these deliver actionable insight into product performance and glass aesthetics.
Here are some common measurement challenges facing the glass industry, and how metrology is used to remediate each concern.
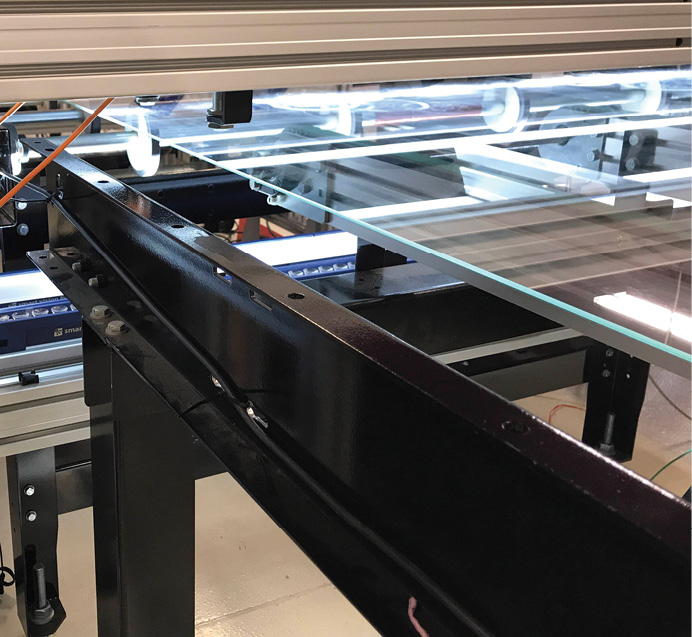
Edge inspection. Glass breakage can lead to potential hazards in the work environment and significant downtime due to equipment damage and maintenance. Real-time analysis of glass breakage and defects lets manufacturers quickly scrap defective product and identify upstream manufacturing issues immediately. For edge inspection, in particular, the metrology tool is configured to detect small chips, cracks or other debris and abnormalities along the edge, as well as measure sub-millimeter changes in panel thickness, width and radial profiles. All while communicating results to the factory floor to deliver improved yield and performance.
Color calibration. For commercial glass manufacturing, accurate color measurement is crucial. Achieving this—with every single panel—typically entails custom solutions through spectral and imaging analysis.
Film and coating thickness. Thin films and coatings are improving everyday products by tuning optical, electrical and structural properties of glass and semiconductor surfaces and interfaces. Determining correct film thickness typically requires a non-contact, non-destructive, thin-film characterization sensor—one that relies on spectral analysis of light reflectance or transmittance. This effort is achieved via a custom optical metrology system that acquires spectral data and determines thickness in real time, all without interfering with the production line.
Likewise, spectral techniques are used to identify and quantify other film and coating characteristics. For example, an absolute spectral reflectance metrology tool is used to characterize various films.
Measure it, manage it
As famed Austrian American management consultant Peter Drucker said, “If you can’t measure it, you can’t manage it.” And if you can’t manage it, you may never reach your manufacturing goals. Lean manufacturing at scale—and with a healthy margin—requires glass metrology.
Still, it’s important to note that metrology does not stand alone. Metrology tools must be designed so they integrate into the existing manufacturing environment, both its physical layout and digital infrastructure.


