Editor’s note: This article is part one of a ‘how-to’ series on glass processing and finishing. In future issues, we’ll address topics such as: how to cut thick glass, glass bonding and corner cutouts, among others. Note, the photos used in this article are for demonstration purposes only. When cutting glass, you must wear the appropriate safety equipment, including safety gloves and glasses. If you have suggestions for topics you’d like to see addressed in this article series, please email Jenni Chase at jchase@glass.org.
1. Choose the right glass-cutter
Everyone who works with flat glass needs to have a manual glass-cutter. There are different glass-cutters for different applications. One important differentiator is the cutting wheel. Steel wheels, carbide wheels and structured cutting wheels meet the highest requirements, allowing users to quickly and easily cut standard glass thicknesses from 1/48-inch to 1 inch (0.5 millimeter to 25 mm).
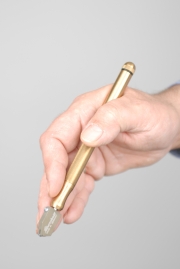
Glass up to 3/8-inch (10 mm) thick is cut most effectively and comfortably using an oil glass-cutter equipped with a swivel head, pictured below. This ergonomic type of cutter allows for slight corrections when making parallel cuts along L-squares or straight edges. Glass-cutters with movable cutting heads also are suitable for cutting curves and shapes. This is true for all cutting heads where the cutting wheel is freely visible when the cutter is held vertically.
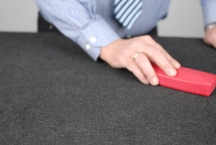
2. Select the appropriate cutting mat
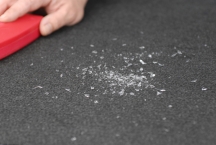
The cutting mat you use should be made of special glazier's felt with a suitable density. Carpet remnants are not suitable for this purpose. The glass must rest softly and evenly on a clean surface. It also is important that no glass splinters are embedded in the felt mat. Chip brushes are an excellent tool for cleaning felt cutting mats.

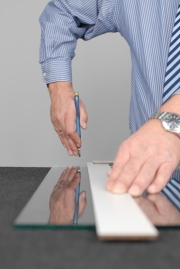
3. Hold the glass cutter correctly
Good cutting results depend not only on the glass cutter, but on how the glass cutter is held.

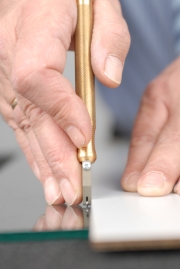
European grip American grip
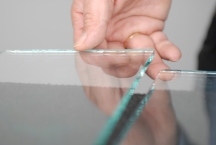
The middle finger of the guiding hand should rest against the cutting head plate and press gently against the side of the straight edge. For the other hand, two fingers should rest on the straight edge while the ring finger should be on the glass to prevent slipping. The hand on the straight edge should always stay in the upper third of the distance being cut.
4. Cut the glass
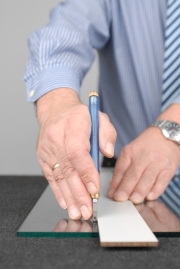
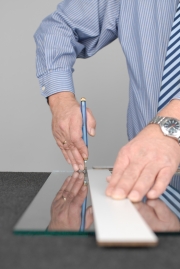
When cutting the glass, or more precisely, scoring the surface of the glass, it is important to continue cutting beyond the edge of the glass when you reach the end of the cutting distance. From there, break the glass along the scored line.
When making parallel cuts along the L-square or straight edge, do not stop your cutting motion too soon. Continue cutting beyond the glass edge and past your body. It is essential to maintain uniform cutting pressure and cutting speed.
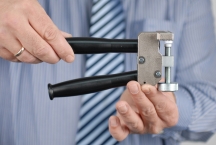
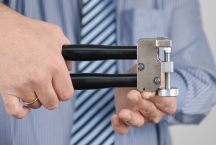
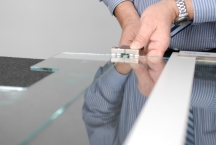
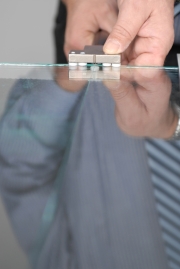
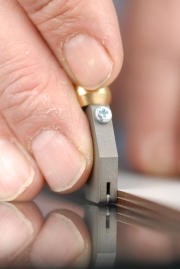
5. Make the break in the glass
Directly after the line has been scored in the glass, make the break. This can be done manually according to the three-point principle, but it is more comfortable and reliable to do with suitable glass breaking pliers equipped with a two-step opening and cut running mechanism. The objective is to achieve a controlled break in the glass, resulting in a clean, right-angled cut edge.