Manage Risks with Mockups
Test performance, identify design concerns and align expectations before construction begins
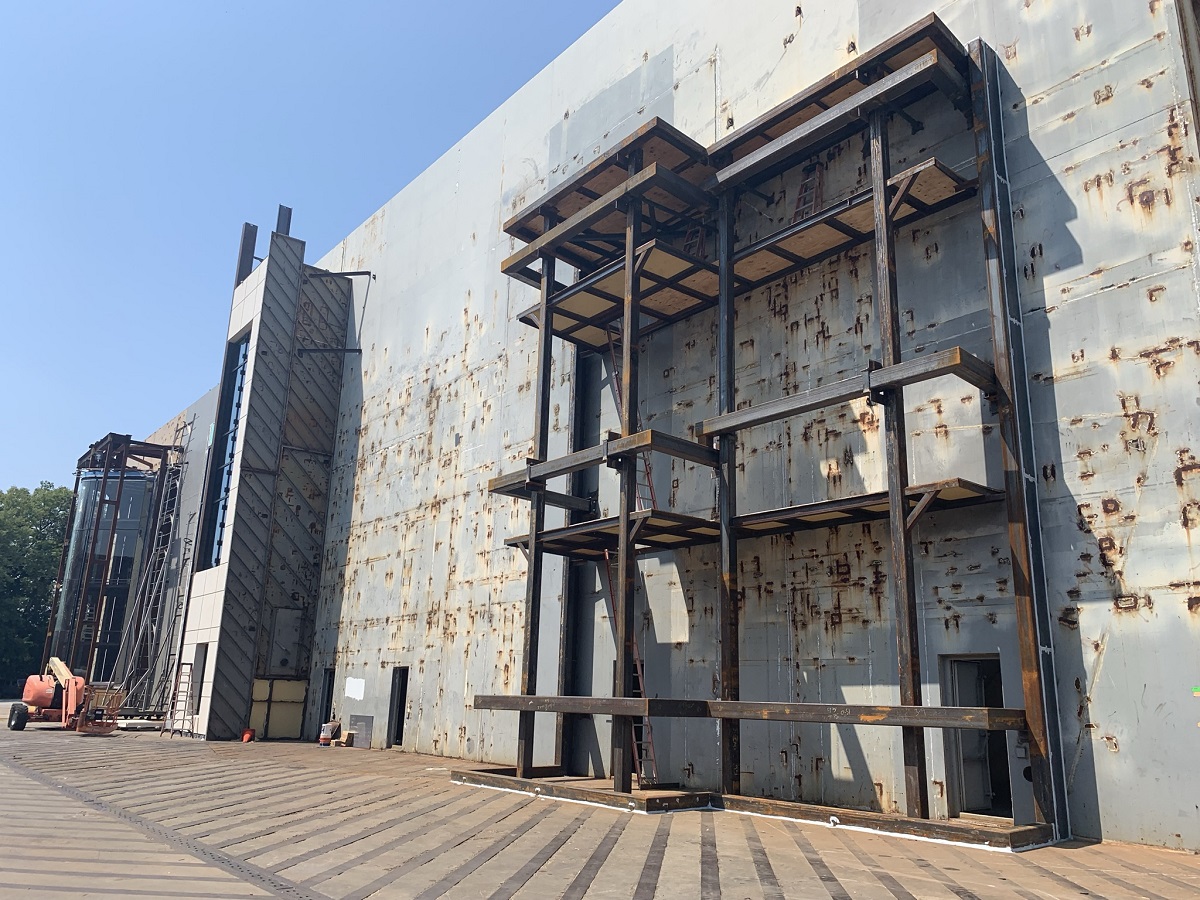
Photo courtesy of Intertek.
Pre-construction mockups, whether in the field or the laboratory, provide essential information to project teams early in the process, allowing issues to be resolved without extended delays or substantial costs. Teams rely on mockups to aid in product selection. They use them to ensure systems meet performance requirements and aesthetic goals. They look to mockups to test out complex elements and guarantee designs can be actualized in the real world. Sometimes they even use the mockup stage to test out and practice installations.
“The more mockups that you do in development and design before production, the better you can refine things before you order material and before it’s too late to change the underlying structure,” says Steve Dean, senior procurement specialist for Permasteelisa North America.
Why mockup?
The primary reason projects require mockups is to reduce risk. “You can show your client what they can expect and get their approval. It puts [the client] right there next to you, so you are getting incremental approvals throughout the project and not sticking your neck out so far,” says Dean.
Additionally, mockups allow teams to verify system engineering and test performance.
Mockups can also provide glazing firms with a competitive advantage. They are in many ways a small construction project within a larger job scope. Glaziers need to be able to manage mockup logistics, connect with test labs, interface with manufacturers, execute construction and more.
“The ability to handle and perform mockups is an advantage,” says Dean.
What is a mockup?
Glazing mockups can range from scaled tabletop displays to full-size installations of large sections of a façade that will undergo months of lab or field testing. Each provides important information to the project team early in the process. This article focuses on laboratory performance mockups, which are the most comprehensive pre-construction mockups.
Intertek, a global product testing laboratory, describes performance mockups as “full-size representations of the proposed exterior wall system built before the exterior wall design is completed in order to study proposed construction details, test for performance and possibly judge appearance of the exterior wall system.” Mockup testing is performed in a laboratory environment where the mockups undergo a range of performance tests.
According to Intertek, the performance mockup allows teams to: validate structural integrity; measure airtightness; verify water drainage; observe condensation behavior; identify critical construction details; review sequencing/logistics; establish the standard of care for a system; verify code compliance; and confirm compliance with contract requirements and program specifications.
Requirements for performance mockups are found in design specifications. Glaziers see them referenced most frequently in larger projects, such as “high rises, airport terminals, convention centers, arenas and universities. Big buildings with beautiful facades,” says Intertek’s Jose Colon, regional sales director. Mockups can be required for jobs of any size that feature non-standard glazing systems that have not already been tested by the manufacturer. “For example, you might see a performance mockup requirement on a smaller project that includes a large glass entrance,” Colon says.
While some companies perform mockups and testing on every project, others are just beginning to bid projects with mockup requirements.
“We’re seeing a lot of smaller players out there. Glazing contractors are bidding jobs that are requiring small mockups,” says Colon.
Another type of pre-construction mockup is a visual mockup, which can help a project team to determine the final glass types, final colors and other specific details, such as a trim piece, says Dean. Because they aren’t being used for performance testing, visual mockups don’t need to be built to size, nor do they require a laboratory environment. “We have the ability to do visual mockups in our facilities. But a lot of times, we’ll do them right onsite—right in a corner of the site. They can stay there for a while and be referred to throughout the project,” Dean says. “I’ve seen visual mockups that are relatively simple, built into the side of a container. And I’ve seen $1 million full-size three-story mockups that are turned into interior fit outs.”
Teams may also use even smaller tabletop mockups or hand samples to help visualize final systems. “These are relatively small and not very costly, but they can give a sense of a certain product type or design details,” says Dean. Such small-scale mockups can be most useful early in the process, when design teams are still finalizing product selection and testing system design details.
What to include in a performance mockup?
“The most frequent question we get from clients is what to test,” Colon says. The project team decides what to include in the mockup. Sometimes the architect or the developer makes the decision, and other times it’s up to the façade consultant, he says.
Intertek offers some best practice general suggestions on what to include in the mockup:
- Accurate representation of the wall design inclusive of typical details
- “Specialty” details and transitions
- Anchorage conditions
- Support conditions
- Longest spans
- Corner conditions
- System transitions
What is the timeline?
A laboratory performance mockup is a several-months-long process that begins once a project is awarded. The basic stages include design, construction, installation and testing.
“When a company is chosen to do a project, they call us. We ask for drawings for the job and for what’s going to be tested as soon as possible,” Colon says.
Along with the construction and mockup design drawings, the glazing team should also provide information on how the system will be installed in the field.
At the installation stage, glazing firms often bring in the team that will handle the installation onsite. “This is practice for installing in the field. You can make sure it’s going to work as you intended,” Colon says.
Once the system is fully installed, testing can begin. Testing can take anywhere from a week to several months, depending on what is being tested. “We’ve had companies build a test unit and keep it there for months to see, for example, what the paint is going to do over time,” says Colon. Most performance tests, however, can be completed within a week or two.