ADVERTISEMENT
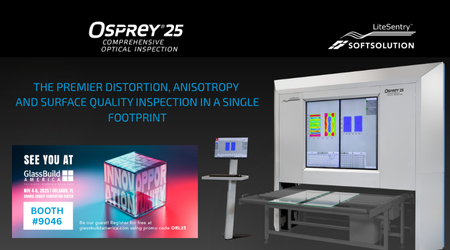
For more than two decades, the Osprey® has been the trusted benchmark for distortion and anisotropy inspection in tempered flat glass. The new Osprey®25 raises the bar once again, delivering even greater precision and performance where it matters most — right after the tempering furnace.
Key features include:
- Industry-leading measurement of roller wave, edge kink, center kink, and pocket distortion
- Comprehensive anisotropy and iridescence analysis with real-time results
- Structured light technology for consistent, accurate, and traceable data
Now, with Osprey®25, fabricators can take quality assurance to a whole new level. Brand-new options expand inspection beyond distortion to include:
- Surface quality detection (scratches, inclusions, coating defects)
- Edge integrity analysis (chips, cracks)
- Dimensional and geometry checks, including logo verification
By combining all of these capabilities into one integrated footprint, Osprey®25 empowers manufacturers to reduce rework, prevent complaints, and consistently deliver flawless glass.